The following is a guide on how to set Custom SubDomain on Blogger:
1. Login to your Blogspot Account
If you have successfully created a subdomain, your next step is to access your Blogspot at the address: http://www.blogspot.com

2. Setting Custom SubDomain to Blogspot
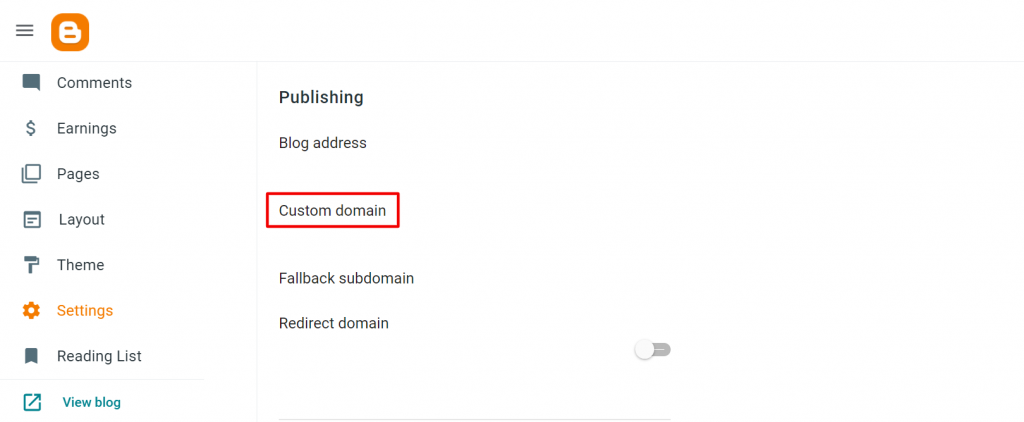
After you have successfully logged in, you will enter the dashboard section, then select the Settings menu and then click Custom Domain.
In this Custom SubDomain menu, you are asked to fill in the name of the SubDomain that you have created, then you click Save.

Furthermore, if it is successful, information will appear like this.
If so, you will get a red message containing 2 CNAMEs from your blogspot as above. which CNAME you must later add to your member area or client area.
In our example, as follows:
- CNAME 1
Name: sub
Destination: ghs.google.com - CNAME 2
Name: 4rjvv3dxxxxxx
Destination: gv-c27xxxxxxxxxxx.dv.googlehosted.com
3. Setting Manage DNS
First you login to the Client Area https://billing.exabytes.co.id/clientarea.php
Then at the top of the Menu please click Domain and select Manage DNS, the example is as follows:

Click Edit Zone and fill in your Domain name that you want to setup and select the IP from the corresponding drop down Once done, click Edit Zone
Then select the Add Record menu to add the CNAME that you got from your Blogspot.

After that, you need to add by entering SubDomain in the Name column, please fill in the subdomain, CNAME in the type section and ghs.google.com in the Record section.

Then input the second CNAME of your blogpot if you have selected Add Record

4. Back to Custom SubDomain on Blogspot
Re-enter the name of the SubDomain that was created, then click SAVE.

If your custom SubDomain is successful, then in the Redirect Domain section, your SubDomain will be listed automatically. Don't forget to make sure the Redirect Domain status is enabled.

Notes: For you to use this feature, you need to update the DNS Nameservers in your domain registrar to our DNS servers. The DNS NameServer will be available when you edit the Zone record as described in step No.3 above.
Here are the DNS that you must apply to your SubDomain name in order to use DNS Hosting:
ns1.idcloudhosting.com 103.82.240.100
ns2.idcloudhosting.com. 42.1.61.102
Notes: After updating the nameservers, please allow a few hours for DNS propagation and for .id domain names it may take 24-72 hours for DNS propagation.