CloudFlare is a content delivery network that acts as a proxy between websites and visitors. Serving static content cache from the nearest location (CloudFlare has many servers spread across several countries), it makes loading a website faster.
As a simple illustration, CloudFlare acts as a link between visitors and website servers. The goal is to prevent the website from malicious attacks carried out by website visitors. Website visitors are divided into three types:
- Visitor. Here, the visitor is a human visitor.
- Crawlers and robots. Crawlers and robots are visitors in the form of programs that aim to scan every page of the website, and can consume a lot of server bandwidth.
- Attackers. Attackers are visitors who aim to attack the website.
By using CloudFlare services, your website is guaranteed to be safe from various attacks and activities that can damage your performance.
In addition, CloudFlare serves all requests to the website and can offer more useful services when compared to a traditional CDN. Here are some of the perks you'll get using CloudFlare.
- Mitigate DDoS attacks.
- Analytics for all requests made to the website.
- Easier SSL certificate installation.
- Network gateway between protocol.
Here's how to point a domain to cloudflare, follow the steps:
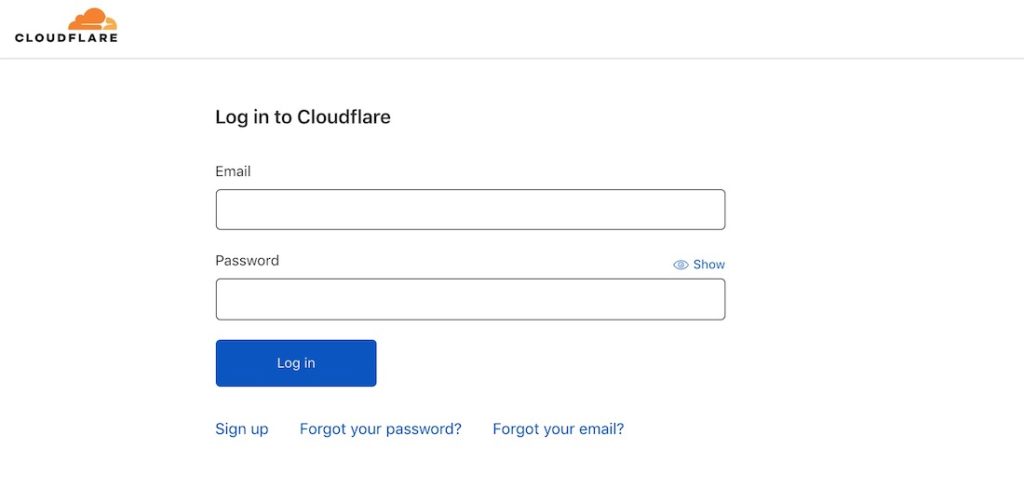
1. Login in CloudFlare
Please login to www.cloudflare.com enter your email and password. There will be many menus that you can choose from. If you don't have an account with CloudFlare, please register first by clicking Sign Up.
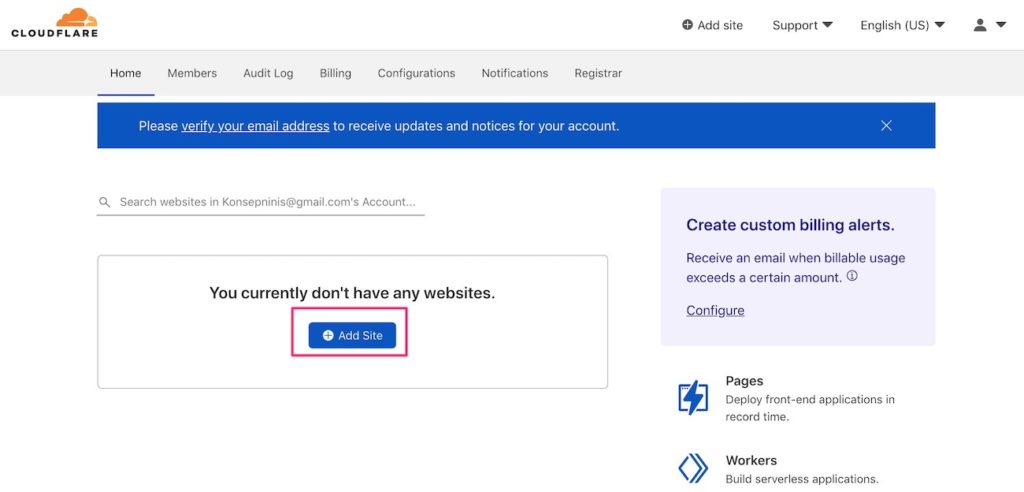
2. Adding a Domain
In order for CloudFlare to connect and work properly, make sure you have added a domain first. As for how to add a domain, please click Add site then write down the domain name. When finished entering the domain name, please click Add site.
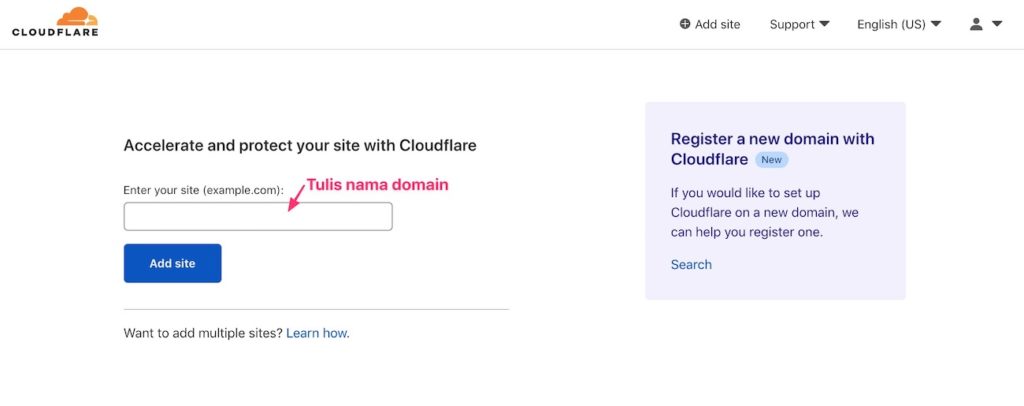
Then, a column will appear to enter the domain name or website that will be synchronized with CloudFlare. Please write the domain name in the column as below, then click Add site.
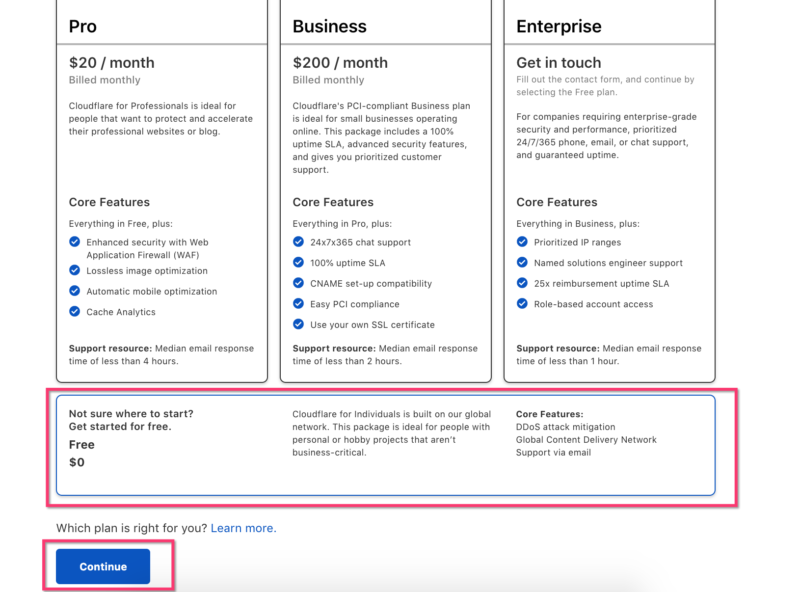
3. Choosing a CloudFlare Plan
After that, you will be directed to the CloudFlare Plan to use. There are various free to paid CloudFlare Plans. To choose the free CloudFlare Plan, please select the Free Plan. Then click continue.
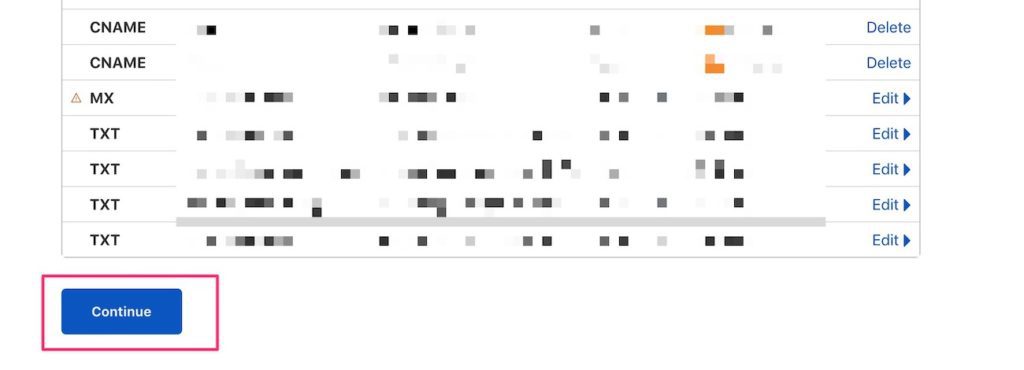
Then several DNS belonging to your website will appear. Please scroll down and click continue.
4. Getting CloudFlare Nameservers
In order for your domain to connect to CloudFlare, you must be redirected to CloudFlare's nameservers. Please copy to the 2 CloudFlare nameservers.
5. Change Nameservers in Client Area.
To change your nameservers with the nameservers from CloudFlare that you have obtained earlier. To change nameservers, you can go to your customer area at https://billing.exabytes.co.id/
After successfully logging in, click Domains then select My Domains at the top.

Select the domain name to change the NS (Name Server), then click the screwdriver image.

When the domain settings are open, you see on the left side of the panel. In the Manage section then select Name Servers.

Then fill in the name server you want.
This name server change usually takes up to the next few hours. Approximately the next 2-4 hours
6. Verify Nameservers in CloudFlare
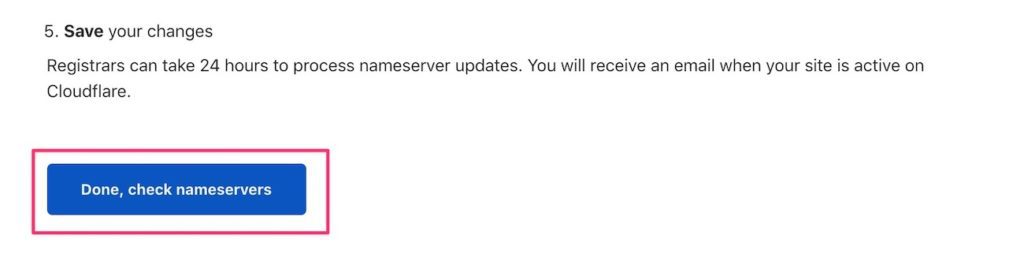
Once you have changed the nameservers to CloudFlare, it is time for verification. Please go back to the previous CloudFlare page. If you see a display like this, please click "Done, check nameservers" to verify. Wait until the verification process is complete.
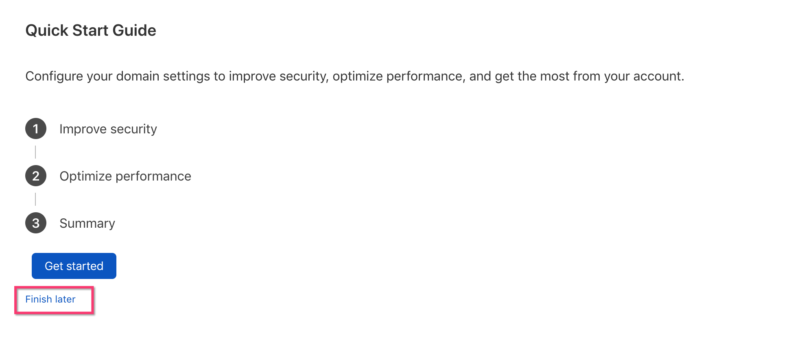
If you encounter a display like this, please click Finish Later followed by clicking check nameservers to verify. Wait until the verification process is complete.
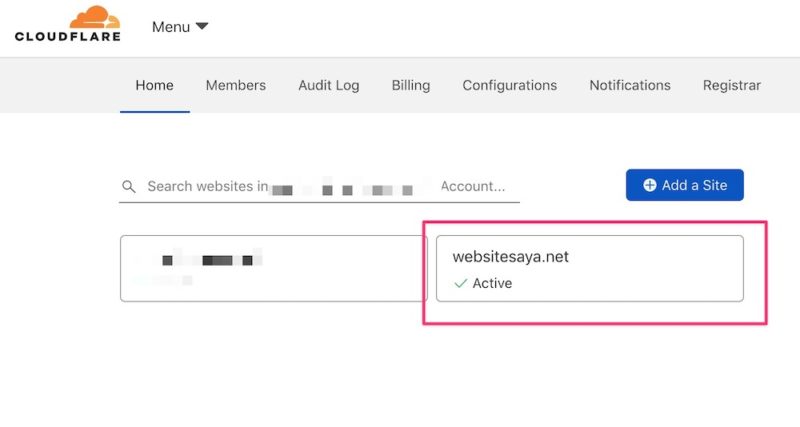
The domain name you registered says "Active", so the verification process was successful. That means your domain is pointing to CloudFlare's nameservers.
7. Ensuring DNS Record Settings in CloudFlare
Your domain nameservers are already connected to CloudFlare. Now it's time to make sure the DNS record settings in CloudFlare are connected to the Hosting or not. Usually, CloudFlare will automatically check the domain and hosting. Please check the A Record, whether it has been directed to the Hosting IP or not. If successfully redirected, then in the CloudFlare status there is an orange cloud image.

Then, please check CNAME Record. If successfully directed, the CloudFlare status has an orange cloud image.

Note: If you have a subdomain that you want to point to CloudFlare, please add a record first. Select Cname and then add the first name of the subdomain. For example, the subdomain you have is blog(dot)websitesaya(dot)net. Write "blog" only. Then write the domain name then click Add record.

8. Hosting to CloudFlare Synchronization Successful
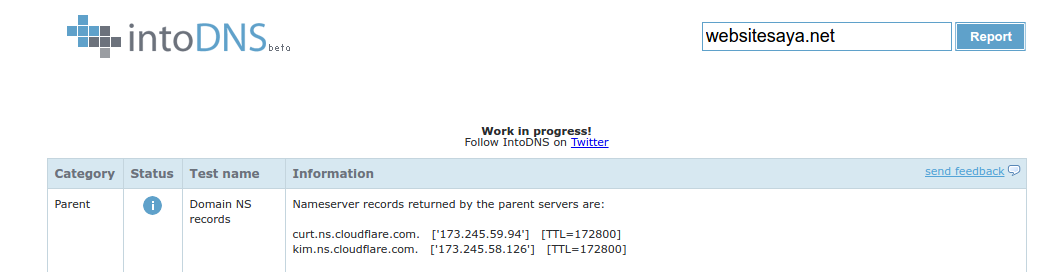
The hosting synchronization process with CloudFlare has been successful. You can enjoy some CloudFlare facilities on your VPS now such as cache management, protection from DDOS and SPAM threats, hidden IP Address, and so on. To check whether the domain synchronization process, hosting to CloudFlare has been successful, you can check at https://intodns.com/ then write down your domain name. If the nameservers are the same as CloudFlare nameservers, it means the synchronization process has been successful.
SSL Usage in CloudFlare
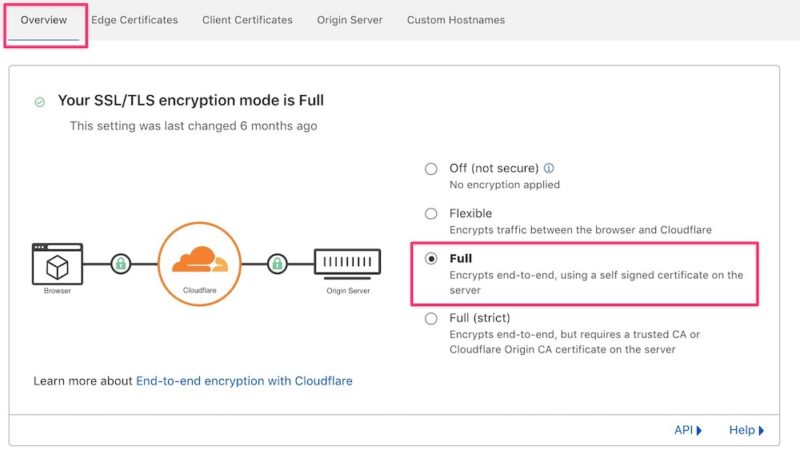
If you are using CloudFlare Free Package, it will usually be directly integrated with CloudFlare SSL. To check, please login to CloudFlare then click Home. Then click SSL/TLS Menu.

Then on the Overview tab, please select Full on the right. If the domain has other SSL installed, it will continue to use CloudFlare's SSL. If you want to use SSL from other vendors such as Let's Encrypt, Comodo, GeoTrust, Digicert or GlobalSign, please use the CloudFlare Business Package. This happens when you want to install CloudFlare and SSL together. CloudFlare's SSL has been tested.
Conclusion
Synchronizing your hosting to CloudFlare is easy, you just need to add your domain and point the CloudFlare nameservers. After the status is "active", CloudFlare will work to protect the website and improve website performance.
Based on the information above, Cloudflare could be an interesting solution to try. You can compare the performance of the website before and after using Cloudflare services.
Good luck and thank you.